
OBS Studio is often introduced as free software for streaming and recording, which is accurate but too small. The better mental model is a live production pipeline. A camera feed, display capture, browser overlay, microphone, music bed, and transition are not just things placed on a screen. They are sources entering a composition graph, getting filtered, mixed, monitored, encoded, and then either written to disk or sent to a streaming service.[2][3][5]
That is why a beginner tutorial can be useful even for engineers who do not need help finding the download button. Awall Digital's OBS Studio walkthrough is framed for first-time users, but the path it takes through download, settings, scenes, sources, preview, audio, and output exposes the system's real architecture.[1] The valuable lesson is not "click this, then click that." It is that OBS makes live media manageable by forcing every production decision into a named boundary: what is captured, where it is layered, how audio is routed, and what the final output must satisfy.
The official OBS site describes the app as real-time video and audio capture and mixing, built around scenes made from sources such as window captures, images, text, browser windows, webcams, and capture cards.[2] Its overview guide then names the user-facing workflow directly: settings, scenes and sources, filters, Studio Mode, and testing.[3] Read together with the source API, the shape becomes clearer. OBS is not a single-purpose recorder with a big preferences panel. It is an extensible media runtime where a "source" is the unit for presenting or modifying audio and video, and plugins can add new source types, filters, outputs, and behaviors around that unit.[4][5]
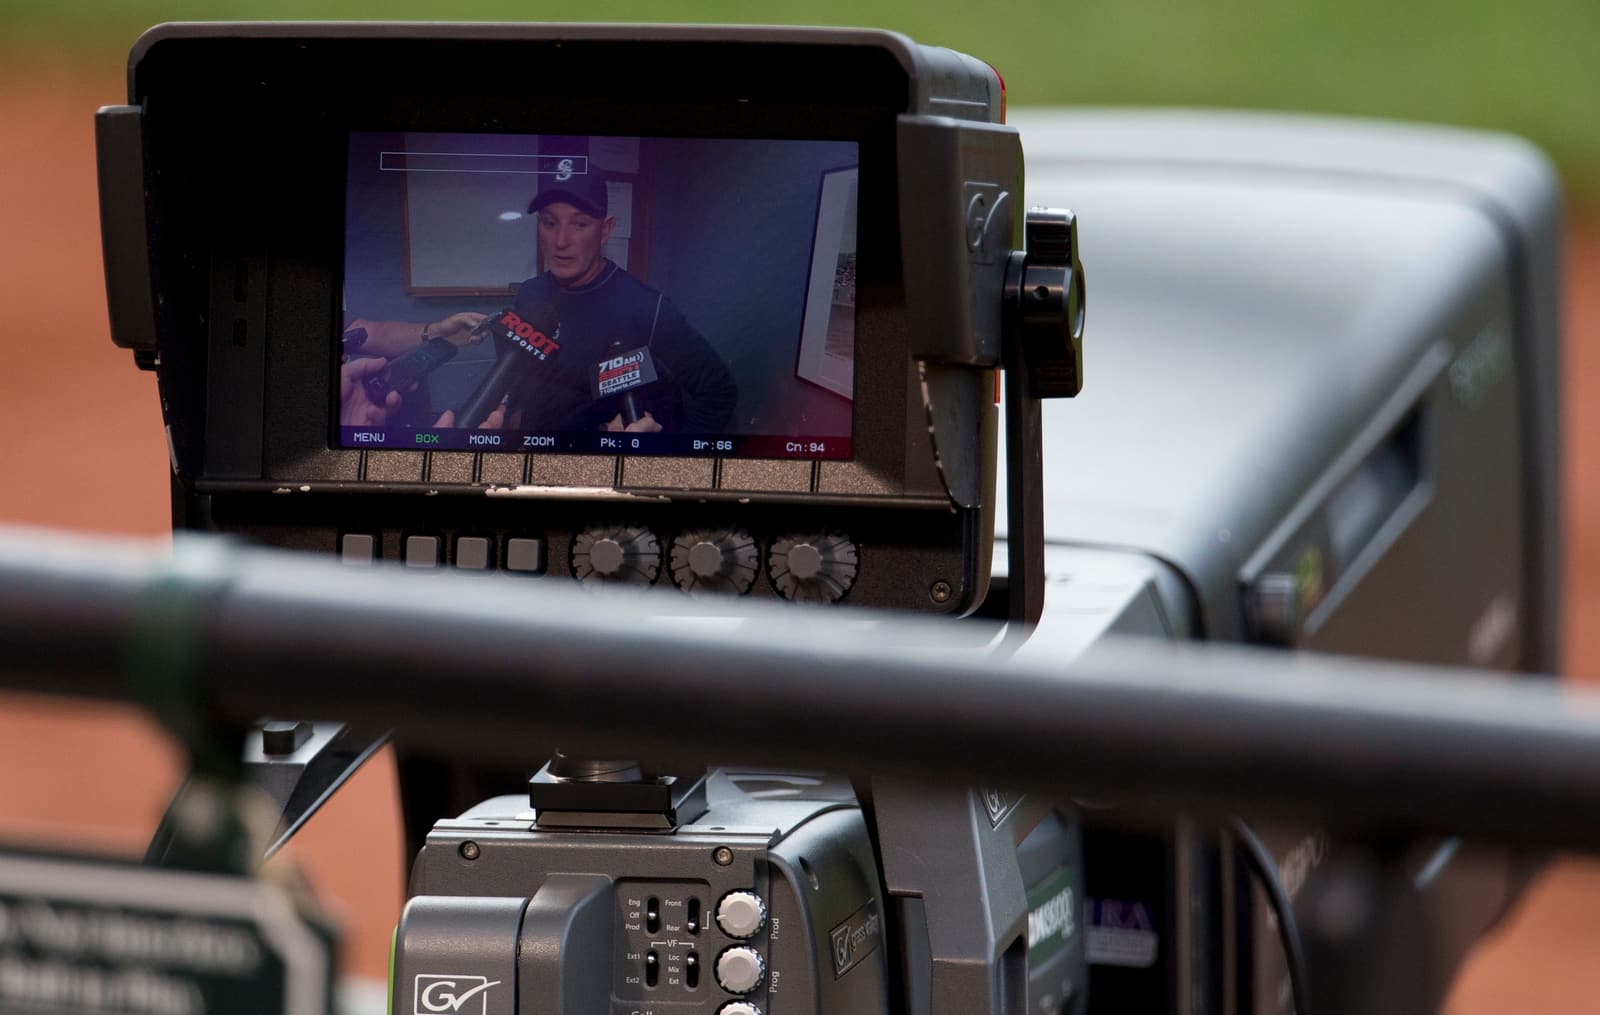
Image context: the cover uses Keith Allison's real 2013 photograph of a camera monitor in use at a sporting event. The image is not an OBS screenshot, diagram, or generated visual. It shows the practical world OBS abstracts: a live signal being framed, checked, and prepared for an audience.[6]
The first useful abstraction is not the stream key, it is the scene
Early OBS setup videos tend to move quickly from installation into the interface, but the important moment is when the tutorial starts arranging scenes and sources.[1] A scene is not merely a folder of assets. It is a named production state: starting soon, desktop, camera full-screen, game, break, interview, closing. The official overview guide treats scenes and sources as the "meat" of OBS because this is where a user decides what media exists in the output and how it is stacked.[3]
That distinction matters because live work punishes ambiguity. If a webcam, title card, alert browser, and screen capture are all one undifferentiated surface, every change risks breaking the show. OBS instead asks users to name the state first, then attach sources to it. Sources can be window captures, webcams, capture cards, images, text, browser windows, or other media.[2][3] Their order matters because the source list is also a layering model: an item above another may hide what sits below it.[3]
The engineering lesson is that OBS makes composition explicit. A "desktop" scene can have the display capture, a cropped webcam, and a lower-third. A "break" scene can reuse the same music or branding while removing the desktop. A "presentation" scene can switch the stacking order so slides remain primary and the camera becomes a small source. Once those states are separate, transitions stop being panic clicks and become controlled swaps between configured compositions.
This is also where OBS differs from simple capture tools. A screen recorder asks, "What rectangle should I record?" OBS asks, "Which live scene should currently own the program output?" That question is more demanding, but it is why the app scales from a solo tutorial recording to a multi-scene live show.
Settings are an output contract, not just preferences
When the video reaches settings, the visible task looks ordinary: choose service, stream key, bitrate, resolution, frame rate, recording path, encoder, and hotkeys.[1] The official overview guide breaks those settings into stream, output, audio, video, hotkeys, and advanced sections, including bitrate choices, recording quality, hardware encoders, base canvas resolution, scaled output resolution, and common FPS values.[3] These controls are easy to skim past, but they define the contract between the internal composition and the outside world.
The base canvas is the workspace where sources are arranged. The output resolution is what the viewer or file actually receives.[3] That distinction is central. A creator may compose at 1920 by 1080, then stream at 1280 by 720 because the platform, bandwidth, or CPU budget demands it. Similarly, a recording may use a different encoder or quality preset from the stream. OBS gives those choices names because they are different failure surfaces: a cramped canvas breaks layout; a mismatched output breaks delivery; an overloaded encoder breaks time.
The tutorial's beginner framing is useful precisely because it shows how quickly these choices become operational. "Same as stream" recording is convenient until a team needs a higher-quality local archive. Hardware encoding is attractive until quality, driver support, or platform compatibility changes the tradeoff. Higher frame rates look smoother until they consume the budget needed for stable upload and encoding. OBS does not remove those constraints. It puts them in one place where the user can see that a live production is bounded by compute, bandwidth, codec support, and platform limits.[1][2][3]
My inference from the video and docs is that OBS's settings panel is best treated like deployment configuration. A scene may look correct in preview, but production quality is proven only when the output contract holds under load. That is why the overview guide ends by urging testing before a live stream.[3] The preview is not the system. The system is the preview plus the encoder plus the network or file target plus enough headroom to survive the real session.
Audio is where "it looks fine" stops being enough
Video tutorials often make OBS feel visual because the preview pane dominates the screen. The audio mixer is quieter, but it is where many real productions fail. OBS advertises an audio mixer with per-source filters such as noise gate, noise suppression, gain, and VST plugin support.[2] The overview guide also shows that OBS can select desktop audio devices and microphone or auxiliary devices, then apply filters to audio devices from the mixer.[3]
That design choice is important. Audio is not simply attached to a scene as an afterthought. It has its own routing, monitoring, muting, filtering, and gain decisions. A microphone may need a noise gate so keyboard taps do not open the channel. Desktop audio may need to be muted during a private segment. Music may need to sit lower than speech. A capture card may carry audio that must be delayed, balanced, or excluded from a recording track.
The source API helps explain why this feels like a runtime rather than a fixed app. Sources are the common context for presenting or modifying audio and video, and API entries expose creation, naming, volume, muting, output flags, rendering, and other source-level operations.[5] That means the same conceptual unit a beginner sees in the interface also has a developer-facing contract. A source is not just a row in a panel. It is the object around which OBS can render frames, expose properties, route audio, and let plugins participate.
For operators, the practical rule is simple: do not trust a stream because the picture looks right. Watch the mixer. Name sources clearly. Test filters. Decide which devices are global and which belong only in a scene. OBS gives enough rope to build a clean production, but it also makes silent mistakes easy if audio is treated as decoration instead of as a first-class signal path.
The plugin model works because the core object model is narrow
The last point to take from the tutorial is visible less in any single click than in the way the interface keeps returning to the same nouns. Scenes. Sources. Filters. Transitions. Outputs. The official site says OBS has a powerful API for plugins and scripts, including native plugins and Lua or Python scripts that interface with existing sources.[2] The GitHub repository describes OBS Studio as software for capturing, compositing, encoding, recording, and streaming video content efficiently, distributed under GPL terms.[4]
Those two facts belong together. OBS can grow through community plugins because the core model is stable enough for extensions to target. A plugin does not need to reinvent the entire production surface. It can add a source type, a filter, an integration, a dock, or a control path while still living inside the same scene/source/output vocabulary.[2][4][5] That is the open-source leverage: the core app stays broadly useful, while specialized streaming communities, capture devices, platforms, and automation needs can extend it without turning the product into a pile of unrelated tools.
This is the main reason the beginner video is worth watching with an engineering eye. It demonstrates the user workflow, but the workflow is only the surface expression of a cleaner architecture. Capture is separated from composition. Composition is separated from output. Audio routing is visible rather than implied. Settings encode the delivery contract. Plugins extend the same source-centered model instead of bypassing it.
OBS Studio is therefore strongest when users stop thinking of it as a "go live" button. The button matters, but it is the final command in a pipeline. The durable skill is learning to model a production as named scenes, reusable sources, explicit audio paths, tested output settings, and extension points that stay within the app's vocabulary.[1][2][3][4][5] Once that model clicks, OBS becomes less mysterious and more demanding in the useful way: it makes every live-media assumption visible before the audience does.
Sources
- Awall Digital, "OBS Studio: Ultimate Beginners Guide (OBS Studio Tutorial for Download, Settings, and Basics)," YouTube video.
- OBS Project, "OBS Studio" - official project page describing real-time capture and mixing, scenes, sources, audio mixer, Studio Mode, Multiview, and plugin API.
- OBS Project Knowledge Base, "OBS Studio Overview Guide" - official guide to settings, scenes, sources, filters, Studio Mode, and testing.
- OBS Project,
obsproject/obs-studioGitHub repository - project README, license, and source code for OBS Studio. - OBS Studio documentation, "Source API Reference (
obs_source_t)" - developer reference for source creation, output flags, rendering, volume, muting, and source-level operations. - Wikimedia Commons, "File:Video camera monitor.jpg" - Keith Allison's real photograph of a camera monitor in use at a sporting event.