Two photographs can agree about the mountain and disagree about the fence in front of it. Hugin gives you a place to investigate that disagreement. The free, open-source panorama stitcher assembles overlapping photographs while exposing the decisions that connect them: which features match, how the pictures align, and which parts survive the join.[1][3][5]
That makes it worth meeting when a quick automatic panorama leaves a broken railing, a doubled pedestrian, or a result you want to revisit. You can begin with an assistant, then work on the troublesome part of the project. As checked on October 14, 2026, the project's homepage lists Hugin 2025.0.1, released on December 13, 2025.[1] Its useful promise is the room it leaves for a second attempt.
Start with a small stretch of the view
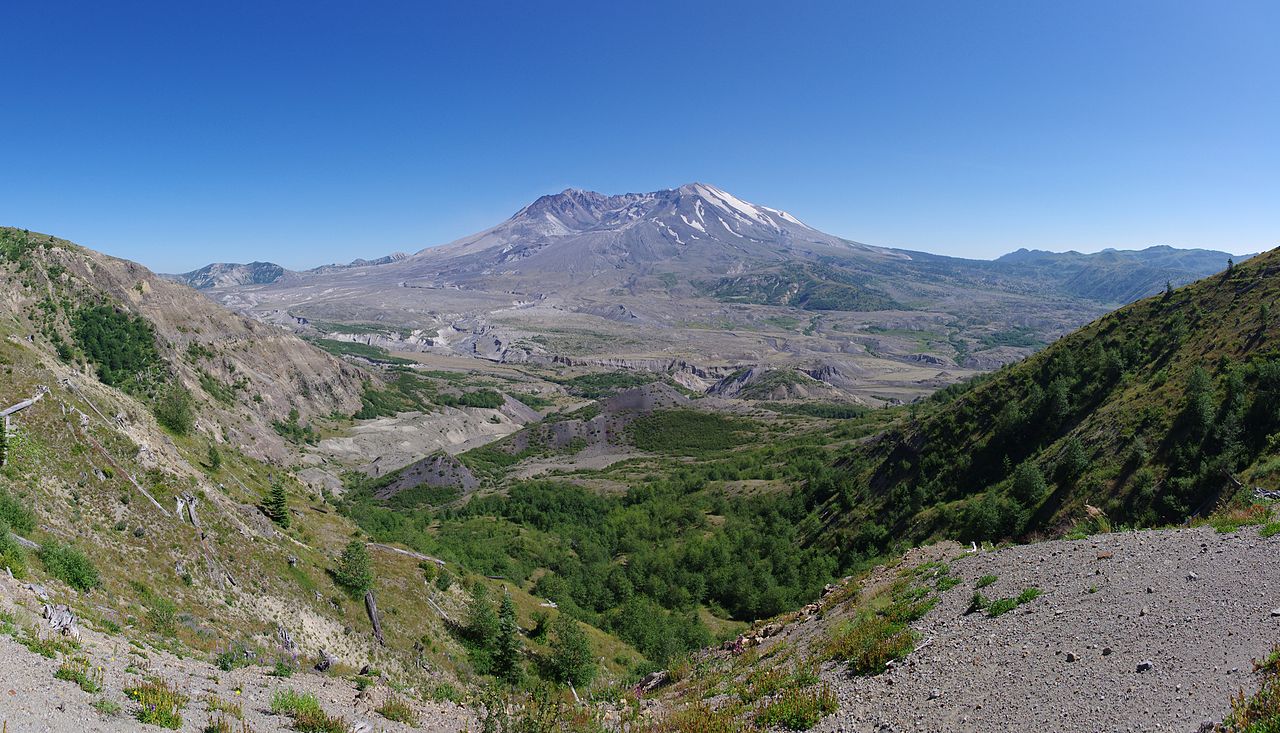
Eviatar Bach's photograph above is an actual Hugin panorama of Mount St. Helens.[10] A broad landscape is an inviting subject, but a first experiment need not cover an entire horizon. A few overlapping frames of a mostly distant, stationary scene give you fewer disagreements to untangle.
The Assistant presents three steps: Load images, Align, and Create panorama. It uses camera EXIF information to estimate the field of view; if that information is missing, you must supply it or the focal-length information needed to calculate it. Align runs feature matching and optimization, including exposure and white-balance adjustments, before displaying a preview.[2]
Pause there. The preview is a useful place to ask whether the same roof edge continues across the join and whether a person has acquired an extra shoulder. If the result needs work, the other controls remain available.[2]
This continuity has a long history. In his independent 2008 review of Hugin 0.7, Nathan Willis singled out the ability to adjust the assistant's result without rebuilding the panorama from the beginning.[8] My reading is that this remains the project's most approachable idea: automation can get you into the work while leaving you a way to understand it.
Tell Hugin what stayed in the same place
A control point is a correspondence between two photographs: the same window corner, for example, selected in both. Those pairs let Hugin estimate image orientation and lens parameters. The Control Points tab displays the images side by side and lets you add, inspect, and refine matches.[3]
The distinction between the same feature and a similar feature matters. In a row of identical windows, selecting the next window along tells the optimizer something precise and wrong. Look for an identifiable detail, then check its counterpart at a useful magnification.
Distribution matters too. The manual calls for well-spread points and explains that estimating lens distortion needs more evidence and substantial overlap.[3] A collection of convincing matches in one little corner leaves the rest of the photograph less constrained. For a beginner, inspecting a handful of pairs is a better learning exercise than treating the match count as a score.
Now return to the fence. If the camera moved sideways between exposures, nearby objects shifted against the distant mountain. This is parallax. Rotating around the lens's entrance pupil avoids that relative shift; rotating around some other point can introduce it.[4]
This gives the repair a limit. You may be trying to align two views that genuinely show different relationships between foreground and background. Adding accurate matches cannot make hidden background detail appear. The practical inference is to distinguish a bad correspondence from a capture problem before spending an evening adding points. A distant landscape is more forgiving than a cramped room with furniture close to the lens.[4]
Decide which moment crosses the seam
Even well-aligned photographs can disagree about a moving subject. Imagine a walker who changes position between adjacent frames. A seam through that overlap may retain only part of the person.
Hugin's Masks tab lets you draw an inclusion or exclusion region on an input photograph. These regions guide the blending process; they are not ordinary cut-and-paste selections. A rough enclosure can be sufficient, so tracing every strand of hair is usually unnecessary.[5]
An exclusion also needs somewhere else to get the scene from. If another photograph shows the empty path, the blender has alternative material. If no input contains the background you need, the mask cannot supply it. The manual explicitly warns that excluding the only coverage can leave a black gap.[5]
That is a useful way to think about the finished picture: several exposures contribute to one view, and the photographer still has to decide whether the join is convincing.
Keep the project behind the picture
Alignment does not decide how a wide view should fit onto a flat image. Hugin offers different output projections. Rectilinear suits a narrower view resembling an ordinary camera photograph; cylindrical is useful for a wide panorama; equirectangular can represent a complete sphere. The Stitcher controls also set the output dimensions and crop.[6]
Try two projections before committing to a crop. This is an editorial choice as well as a geometric one: the useful result is the view you want someone to look at.
Save the .pto project alongside its source photographs. Hugin's project format is plain text describing the stitching job. Its tools can also operate outside the interface: pto_gen creates a project, cpfind finds correspondences, and hugin_executor can run the assistant or stitch an existing project.[7] That gives a technically confident photographer a route toward repeated processing after understanding a small example.
For a solo user or small studio, my suggested starting point is one modest project on the actual machine that will do the work. Check the package version: the project distinguishes its source releases from binaries contributed for particular platforms and directs Linux users to their distribution's package manager.[9] A source-release announcement does not establish that every installer is equally current.
Keep the inputs, project, and a note of the software version together, then reopen the job before relying on that bundle as your working archive. A delivered JPEG is enough to view the landscape. Returning to its seams requires the photographs and decisions that made it.
Sources
- Hugin, official project homepage — panorama stitching and the 2025.0.1 release announcement; checked October 14, 2026.
- Hugin manual, “Hugin Assistant tab” — image loading, field of view, alignment, preview, and output.
- Hugin manual, “Hugin Control Points tab” — matching features, point distribution, lens parameters, and manual refinement.
- PanoTools documentation, “Parallax,” hosted in the Hugin manual — viewpoint displacement, foreground/background shifts, and missing detail.
- Hugin manual, “Hugin Mask tab” — inclusion and exclusion masks, blending behavior, and the need for alternative image coverage.
- Hugin manual, “Hugin Stitcher tab” — output projections, field of view, canvas size, and crop.
- Hugin manual, “Panorama scripting in a nutshell” — plain-text project files, command-line tools, and retaining inputs for later stitching.
- Nathan Willis, “Hugin panoramic photo editor extends its reach,” Linux.com, October 30, 2008 — independent review of Hugin 0.7 and its editable assistant workflow.
- Hugin, “Download” — source releases, community-provided binaries, and platform packaging guidance; checked October 14, 2026.
- Eviatar Bach, “Panorama of Mount St. Helens,” July 21, 2013, Wikimedia Commons — original photograph identified as created with Hugin; CC BY-SA 3.0.