Tokyo night itineraries often get sold as a long checklist. Local behavior is usually cleaner: pick one moving platform, then one place to land and recover.
This piece keeps the scope tight to two anchors:
- Yurikamome U-01 Shimbashi → U-14 Shijo-mae (non-food mobility anchor)
- Toyosu Senkyaku Banrai (night-room landing anchor for footbath + short market loop)
The point is to run one repeatable evening pattern with low friction, not to max out attractions.
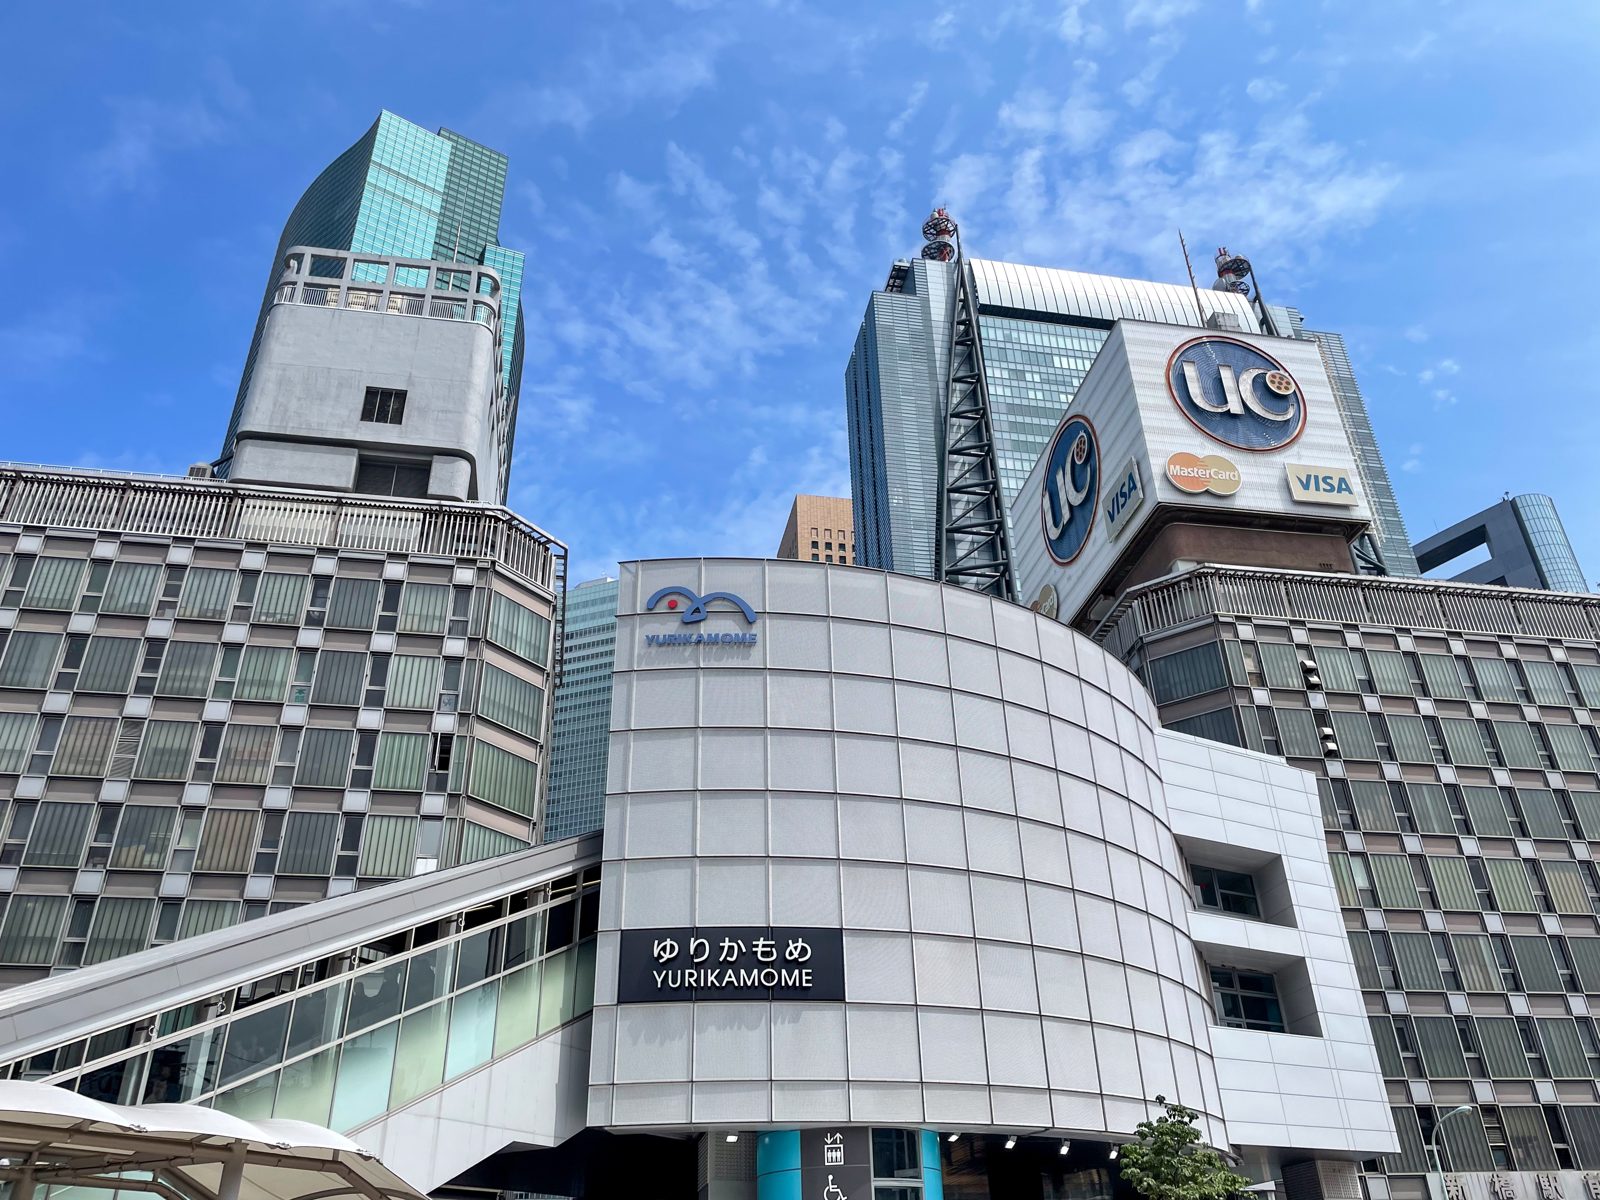
Image context: the cover photo is Yurikamome Shimbashi Station (June 2024), the exact departure context used in this route.
Anchor 1: Yurikamome from Shimbashi — where sequence matters more than speed
Yurikamome is structurally useful at night because it is explicit and bounded: station numbering is fixed from U-01 (Shimbashi) to U-16 (Toyosu), and your target for this run is U-14 (Shijo-mae).[1][2]
For this route, avoid over-optimizing transfer speed. The win comes from boarding sequence:
- confirm you are on the Toyosu-bound side,
- queue early enough to choose a forward-facing window line,
- keep your exit plan for Shijo-mae ready before arrival.
Fare planning also needs one hard anchor before you leave: the official Yurikamome ticket page lists a QR One-Day Pass at ¥820 (adult) / ¥410 (child), which gives you a clear threshold for deciding whether your evening includes multiple Yurikamome legs or just one.[3]
Anchor 2: Toyosu Senkyaku Banrai — where to absorb the city without losing flow
From Shijo-mae, the official access page states about 4 minutes on foot to Toyosu Senkyaku Banrai via connected deck flow.[4] That short walk is the reason this pairing works after dark: no extra planning tax, no long decision gap.
Inside the complex, one practical timing anchor is explicit in the floor guide: the rooftop observation footbath area is open 9:00–22:00.[5] If your train leg lands around 19:30–20:30, you still keep usable buffer for a quick food loop and a final soak without rushing every stop.
A second operations anchor is useful on heavy days: the facility’s shuttle notice confirms free shuttle links from Shimbashi and Monzen-nakacho, and explicitly tells passengers to fall back to Tokyo BRT or Yurikamome when buses are full.[6] In practice, that gives you a built-in Plan B instead of ad-hoc rerouting.
7 local moves that make this Tokyo night room work
First, treat this as a two-anchor run, not a Toyosu mega-tour. Scope discipline is what keeps the evening relaxed.
Second, use the station-code logic (U-01 to U-14 target) before boarding so you do not waste your best view window on wayfinding noise.[1][2]
Third, decide pass logic early: if your night includes out-and-back plus one extra hop, compare that to the ¥820 one-day pass threshold before tapping through.[3]
Fourth, at Shijo-mae, keep the transfer short and direct; the official 4-minute walking cue is a routing advantage only if you avoid side detours on the first move.[4]
Fifth, protect the footbath window backward from the 22:00 close: set your final soak slot first, then place food and browsing around it.[5]
Sixth, if crowds spike, switch transport hierarchy in this order: stay on Yurikamome if trains are flowing, then use the shuttle when feasible, then Tokyo BRT fallback if shuttle queues harden.[6]
Seventh, for food decisions inside Senkyaku Banrai, use local review density instead of longest line optics. Tabelog’s premise list gives a faster first filter than walking every storefront blind.[7]
Non-local trapline: 3 common mistakes and better alternatives
Mistake 1: Treating Toyosu as a checklist sprint
Better alternative: keep one transit anchor + one landing anchor. You preserve energy and still get a full Tokyo-bay night texture.
Mistake 2: Arriving at Senkyaku Banrai without closing-time math
Better alternative: lock footbath timing around the 22:00 close first, then fit meal/shop stops around that hard edge.[5]
Mistake 3: Assuming shuttle buses are guaranteed at peak moments
Better alternative: follow the operator’s own fallback logic and keep Yurikamome/Tokyo BRT as live options when shuttle capacity is exceeded.[6]
Time window, expected spend, queue reality, and one navigation cue
A clean version of this run fits in 2.5–3.5 hours end-to-end:
- Yurikamome boarding + ride + station exit: ~45–60 min including platform buffer
- Senkyaku Banrai loop + footbath: ~90–120 min
- Return transfer buffer: ~20–30 min
Useful spend anchors from official pages:
- Yurikamome QR One-Day Pass: ¥820 adult / ¥410 child[3]
- Facility parking logic (if your group pivots to car): baseline ¥500 per 20 min, reduced ¥300 per 20 min on defined conditions; purchase thresholds include ¥2,000 / ¥3,000 / ¥5,000 for 2h / 3h / 5h free windows.[4]
Queue reality: Google Maps local review streams around Shimbashi (Yurikamome) and Toyosu Senkyaku Banrai repeatedly signal that evening comfort depends on arrival slot choice, not just destination choice.[8][9]
One navigation cue that prevents most friction: at Shimbashi, run this order—platform side confirmation → car-position choice → bag/phone settled before boarding. Most avoidable stress comes from reversing that sequence.
Sources
- Yurikamome official — U-01 Shimbashi station/timetable
- Yurikamome official — station list and numbering (U-01 to U-16)
- Yurikamome official — fare/ticket guide (QR One-Day Pass ¥820 / ¥410)
- Toyosu Senkyaku Banrai official — access (Shijo-mae walk 4 min, access/parking anchors)
- Toyosu Senkyaku Banrai official — floor guide (footbath 9:00–22:00)
- Toyosu Senkyaku Banrai official — shuttle bus notice (Shimbashi/Monzen-nakacho + overflow fallback)
- Tabelog local review index — restaurants inside Toyosu Senkyaku Banrai
- Google Maps community listing — Yurikamome Shimbashi Station
- Google Maps community listing — Toyosu Senkyaku Banrai
- Wikimedia Commons image source (hero)