A drawing can specify exactly where a leaf ends without explaining how a needle should get there. Ink/Stitch supplies that missing layer. Built as an extension to the open-source vector editor Inkscape, it turns artwork into machine-embroidery designs, with tools for stitch selection, lettering, and routing. The project released version 3.3.0 on July 31, 2026.[1] Its appeal becomes clearest when you follow one drawing through the software and out onto fabric: every attractive shape eventually needs an order of operations.
The project's origin was pleasingly literal. Programmer lexelby received an embroidery machine as a Christmas gift and wanted to design for it on Linux. Starting from an existing Inkscape embroidery extension, they developed a broader tool whose stated ambition was to make digitizing accessible to people unable to spend hundreds or thousands of dollars on software.[2] Inkscape supplied an established drawing environment. Ink/Stitch made that environment answer questions about thread.
Give the shape a job
Imagine designing a small leaf badge. Its broad interior, narrow border, and branching veins may all look like ordinary green geometry on screen. In embroidery they suggest different constructions.
A fill stitch covers an area. A running stitch follows a path, useful for a vein or fine outline. A satin column carries thread back and forth across a narrow shape, producing the smooth coverage familiar from embroidered lettering and borders. These are different ways of laying thread, with different textures and thicknesses. Ink/Stitch's stitch library gives the designer control over those choices.[3]
For a manually constructed satin border, the geometry becomes unusually concrete. Two paths form its rails; their separation sets the column's width. Additional crosswise paths, called rungs, guide how stitches pass between the rails. Ink/Stitch also provides conversion tools, so drawing every rail manually is optional. The useful concept is that the SVG can describe the structure of the sewing, down to how a border turns a corner.[4]
Select an object and open Extensions > Ink/Stitch > Params to set its embroidery behavior. Depending on the stitch type, controls include stitch length, density, direction, underlay, and compensation. Applying the settings stores them in the SVG.[5] The working file now holds both the artwork and decisions about making it.
The drawing has a clock
Inkscape's object stack determines which things appear above others. In Ink/Stitch, it also determines sewing order: processing moves from the bottom of the stack upward. Reordering objects therefore changes the machine's sequence. Moving between separated objects can introduce jumps, while an object-color change produces a thread-change command.[5]
For the imagined leaf, that makes sequencing part of design. An interior, a vein, and a border need a deliberate relationship. Grouping everything of the same color might look efficient, but the sequence still has to produce the intended overlaps. An embroidery file unfolds over time.
The simulator makes that time visible. Under Extensions > Ink/Stitch > Visualize and Export > Simulator, you can step through individual stitches and inspect jumps, trims, stops, and color changes. Watching the whole design run exposes travel that a static preview can conceal. The separate Stitch Plan Preview can place the generated stitches on the Inkscape canvas.[6]
That is an approachable debugging loop: change an object or parameter, regenerate the plan, and inspect what the needle has been asked to do.
Save the instructions you can still edit
Once the sequence is ready, File > Save a copy exports a format the machine can read. Keep the SVG as well. Ink/Stitch's import/export documentation explicitly recommends retaining it for later changes.[7]
The reason goes beyond keeping a convenient backup. Opening an existing embroidery file imports it in Manual Stitch Mode, where individual stitch points can be adjusted.[7] That is a different editing level from changing the source shape and its stitch-generation settings. Importing the machine output does not restore the original parametrized drawing.
For the leaf badge, preserve the SVG that knows about the fill and border alongside the exported machine file. A later revision then starts with the design decisions you made. This is the practical value of treating the SVG as the master: you retain a useful place to change your mind.
Fabric supplies the next correction
A convincing simulation is a useful inspection, but the material introduces another set of variables. Ink/Stitch's compensation tutorial describes thread pulling fabric inward and dense stitching pushing it outward. Adjacent color areas can consequently develop gaps even when their drawn edges meet.[8]
The amount of correction depends on the fabric, stabilizer, stitch type, density, underlay, hooping, and other sewing conditions. There is no universal compensation value to copy from a successful screenshot. The tutorial recommends sewing under the intended conditions and refining the shapes after examining the result.[8]
For a first project, the sensible scope is one small design and a test piece matching the final fabric and stabilizer. The official workflow specifically asks readers to watch for distortion and overly dense areas before returning to the design for another iteration.[5] A solo maker or a small workshop can use that loop directly. A shop handling repeat orders also needs a record of the tested material and machine setup; the editable SVG alone cannot capture how every garment will behave.
This is where the software asks for craft knowledge. It offers settings that make corrections possible, while the stitched sample supplies evidence about which corrections are needed.
An open editor reaches the sewing table
In his 2021 introduction for Fedora Magazine, Sirko Kemter placed Ink/Stitch within the wider maker use of Inkscape, connecting vector drawing with physical fabrication.[9] That remains a useful way to understand the project's appeal: someone already comfortable drawing paths can carry that skill into a different material, then learn the sewing decisions it demands.
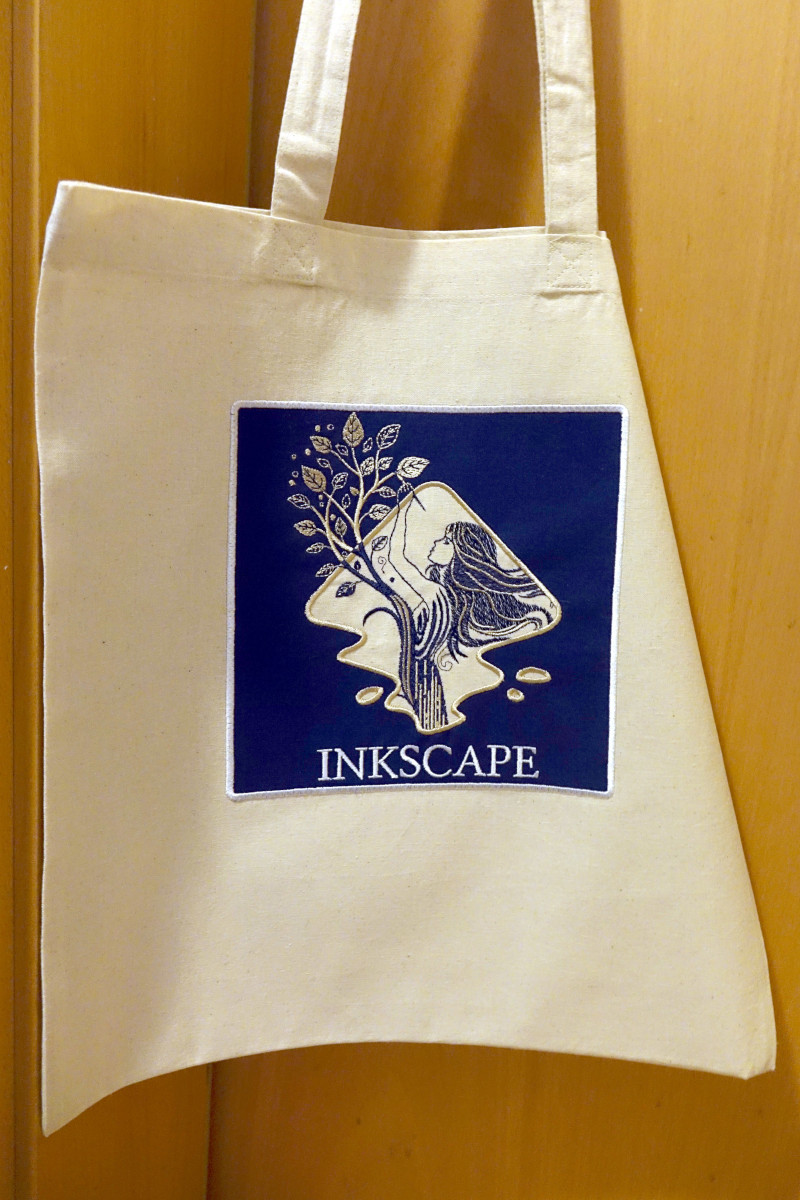
The official Inkscape splash-screen bag tutorial shows how specific those decisions become. Its supplied embroidery SVG accompanies instructions for cutting appliqué fabric, sewing a placement line, attaching the fabric, and stitching successive colors. It even warns that the design's small satin columns make the supplied version unsuitable for stretchy material.[10]
The finished bag is the satisfying endpoint. The reusable achievement is the editable path back to it: shapes, stitch settings, sequence, and the corrections learned at the machine.
Sources
- Ink/Stitch project, homepage — project scope and the July 31, 2026 release of version 3.3.0.
- lexelby, “Background and Philosophy,” Ink/Stitch repository README — the project's origins and access goals.
- Ink/Stitch, “Stitch Library” — stitch families, their construction, and their visual properties.
- Ink/Stitch, “Satin Column” — rails, rungs, manual construction, and conversion tools.
- Ink/Stitch, “Workflow” — SVG parameters, object order, machine commands, and test sewing.
- Ink/Stitch, “Visualize” — simulator controls and stitch-plan inspection.
- Ink/Stitch, “Import and Export Files” — machine-file export, SVG retention, and Manual Stitch Mode on import.
- Ink/Stitch, “Push/Pull Compensation” — fabric distortion, relevant variables, and testing under matching conditions.
- Sirko Kemter, “MAKE MORE with Inkscape – Ink/Stitch,” Fedora Magazine, September 10, 2021 — independent context on vector graphics and maker practice.
- Ink/Stitch, “Stitching the Inkscape 1.4 Splash Screen Logo” — photographed bag, original design credit to Inkonic, appliqué sequence, and material limitations.