If you have one Osaka night window, don’t run it as random Namba wandering. Run it as two rooms with different tempos: Hozenji Yokocho first, Dotonbori Riverwalk second.
This works because the two anchors solve different jobs. Hozenji is a narrow reset lane—officially about 80 meters long and 3 meters wide—with older kappo, bars, and a slower conversational pace.[1] Dotonbori is the opposite: high-noise, high-signage, high-throughput entertainment energy built around a corridor excavated in 1612 and still functioning as Osaka’s public-night stage.[2]
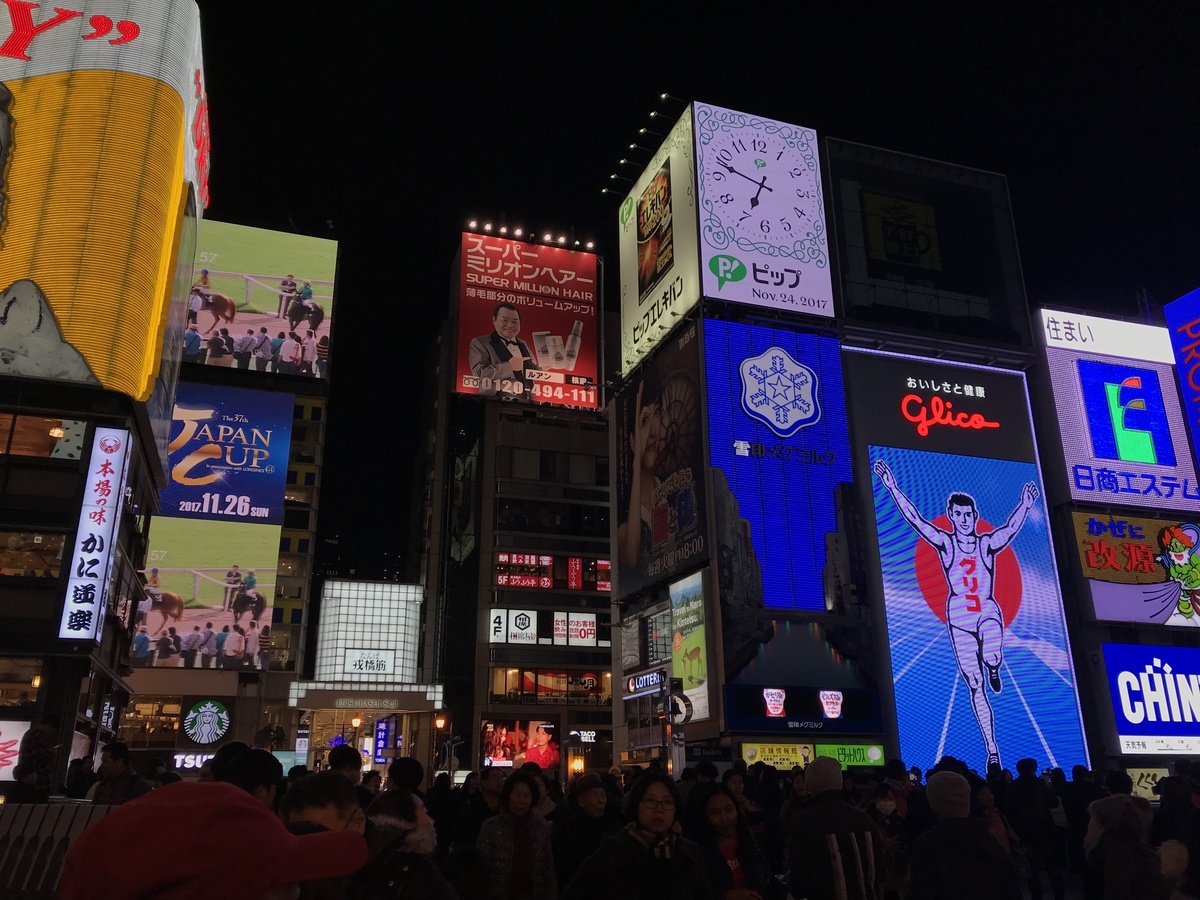
As of 2026-03-10 UTC, recent OsakaTravel community threads are still describing Dotonbori/Namba as “chaos” during prime evening, which makes sequencing more valuable than venue count.[5][6] The lead image works as a practical recognition cue: a narrow, stone-paved Hozenji lane with lantern light tells you you’re in the right low-noise first anchor before the neon handoff to Dotonbori.[10]
The 2-hour, 45-minute shape
- Anchor 1 (quiet-compression room): Hozenji Yokocho, 20:45–21:45
- Transfer: walk toward Dotonbori via Namba-side exits, ~8–12 minutes depending on crowd density and crossings[3][7]
- Anchor 2 (high-energy room): Dotonbori Riverwalk / Ebisu-bashi side, 21:55–23:30
The logic is simple: start where pace is controllable, then move into the crowd after you already have food/drink rhythm and navigation orientation.
Why this sequence beats improvising
Hozenji is not only a tactical stop; it is Osaka memory compressed into one lane. The area was rebuilt after wartime destruction, and the moss-covered Fudo statue tradition came from repeated water-pouring prayers by locals over decades.[1] This gives the first hour a different psychological function: you are entering Minami through neighborhood texture, not through LED overload.
By the time you drop into Dotonbori, you’re no longer deciding from zero under pressure. You already have one complete stop and can treat Dotonbori as a controlled second act rather than a place to “figure out everything at once.”
Local moves that change outcomes
- Use Namba Exit 26-D as your Dotonbori transfer anchor. Osaka Metro’s exit map tags Dotonbori (also rendered as “Dotombori” on some station signage) from that exit, which reduces last-block map drift.[3]
- Do not open the night on Dotonbori if your tolerance for queue churn is low. Recent local-community posts still frame Namba/Dotonbori crowd pressure as the core friction.[5][6]
- Time-box Hozenji to one hour. It is a lane for calibration, not a full crawl; if you stay too long you hit Dotonbori at peak bottleneck without room to move.
- Set two spend bands before you start: e.g., ¥2,000–¥3,500 for Anchor 1 and ¥2,000–¥4,000 for Anchor 2, so your second half does not become impulse-only.
- Use one crossing strategy in Dotonbori: pick river-side or street-side and hold it for 30–40 minutes; repeated side-switching costs more time than distance suggests.
- Treat photos as transitions, not destination behavior. In dense Dotonbori flow, stop-shoot-stop loops are the fastest way to lose your companion and your timing.
- Set a transport checkpoint before your second drink at Anchor 2. Midosuji Line first-train/frequency data shows how early service recovers, but late-night decisions still need a defined cutoff.[4]
- Keep group size operationally small (1–3). Both anchors punish indecision in larger groups: Hozenji because of lane width, Dotonbori because of crowd turbulence.
Non-local traplines
Trap 1: “We’ll just start at Glico and freestyle from there.”
Better move: use Hozenji as a low-noise first anchor, then enter Dotonbori with your tempo already set.[1][2]
Trap 2: “Dotonbori queue pressure is just social-media exaggeration.”
Better move: treat it as a real variable; recent community threads still call out Namba/Dotonbori crowd fatigue as a planning constraint.[5][6]
Trap 3: “Navigation inside Namba is obvious at night.”
Better move: pre-commit one exit cue (26-D for Dotombori direction) and avoid dead-time loops in station/arcade transitions.[3]
One-screen run card
- Country / city: Japan, Osaka (Minami)
- Anchors: Hozenji Yokocho → Dotonbori Riverwalk
- Best window: 20:45–23:30
- Anchor transfer: ~8–12 min on foot
- Hard geometry anchor: Hozenji lane 80m x 3m
- Historical anchor: Dotonbori canal excavation 1612
- Rail spine: Midosuji Line through Namba; core section frequencies can run around 2m15s–2m30s at rush and 4–8 min in slower periods[4]
For this part of Osaka, quality comes from sequence discipline. One narrow old lane first, one neon river corridor second, and a clock you actually obey.
Sources
- Osaka-Info (official) — Hozenji Yokocho Alley (80m x 3m geometry, historical context, postwar rebuild)
- Osaka-Info (official) — Dotonbori overview (1612 excavation origin, district context)
- Osaka Metro (official) — Namba station area map and exits (including 26-D Dotombori cue)
- Osaka Metro NiNE (official) — first train and frequency reference (Midosuji line, Namba 05:23 first train in shown table)
- Reddit r/OsakaTravel (local community, submitted 2026-03-04) — “Tired of the Namba/Dotonbori chaos?”
- Reddit r/OsakaTravel (local community, submitted 2026-02-21) — “I almost skipped Osaka…” (Dotonbori first-night crowd signal)
- Google Maps community listing — Hozenji Yokocho
- Google Maps community listing — Dotonbori Riverwalk / Ebisu-bashi area
- Reddit r/OsakaTravel (local community, submitted 2026-01-24) — Hozenji Yokocho first-timer food constraint thread
- Image source (official Osaka tourism media CDN)