Auckland has bigger waterfront spectacles than this, but not many short moves that explain the city so quickly. The useful sequence is compact: take the ferry to Devonport Wharf, walk straight up Victoria Road, then finish on Takarunga / Mount Victoria.[1][2][3] One anchor is the ferry landing that makes Devonport feel close enough to use and separate enough to matter. The other is the 66-metre hill above the village where the harbour, Rangitoto, and the skyline finally hold still in one frame.[1][2]
That order matters because Devonport gets weaker when you approach it as a vague North Shore day out. Discover Auckland's current Devonport page, updated on 11 April 2026, says the place feels a world away from the city while still sitting only a 12-minute ferry ride from it.[1] The companion Takarunga page, updated the same day, adds the second half of the logic: this tūpuna maunga rises 66 metres, carries deep history, and still gives one of the cleanest panoramic reads of the harbour and city skyline.[2] Put together, the wharf and the hill make Devonport legible as one small urban portrait rather than a bag of beaches, boutiques, and random views.
Local guidance sharpens the route in a different way. Visit Devonport's Mount Victoria walk page says the hill can be reached on foot from Devonport Wharf by following Victoria Road, and that the walk usually takes about 20-30 minutes depending on how often you stop.[6] That is exactly the scale this article is built on. The current Auckland Transport timetable does not leave you stranded if you choose a later city departure either: the Devonport line is still running frequent sailings through the 17:00 and 18:00 hours on weekdays, which makes a short after-work crossing entirely realistic.[3] The right move is not to turn this into a full excursion. The right move is to let one short crossing and one short climb do the work.
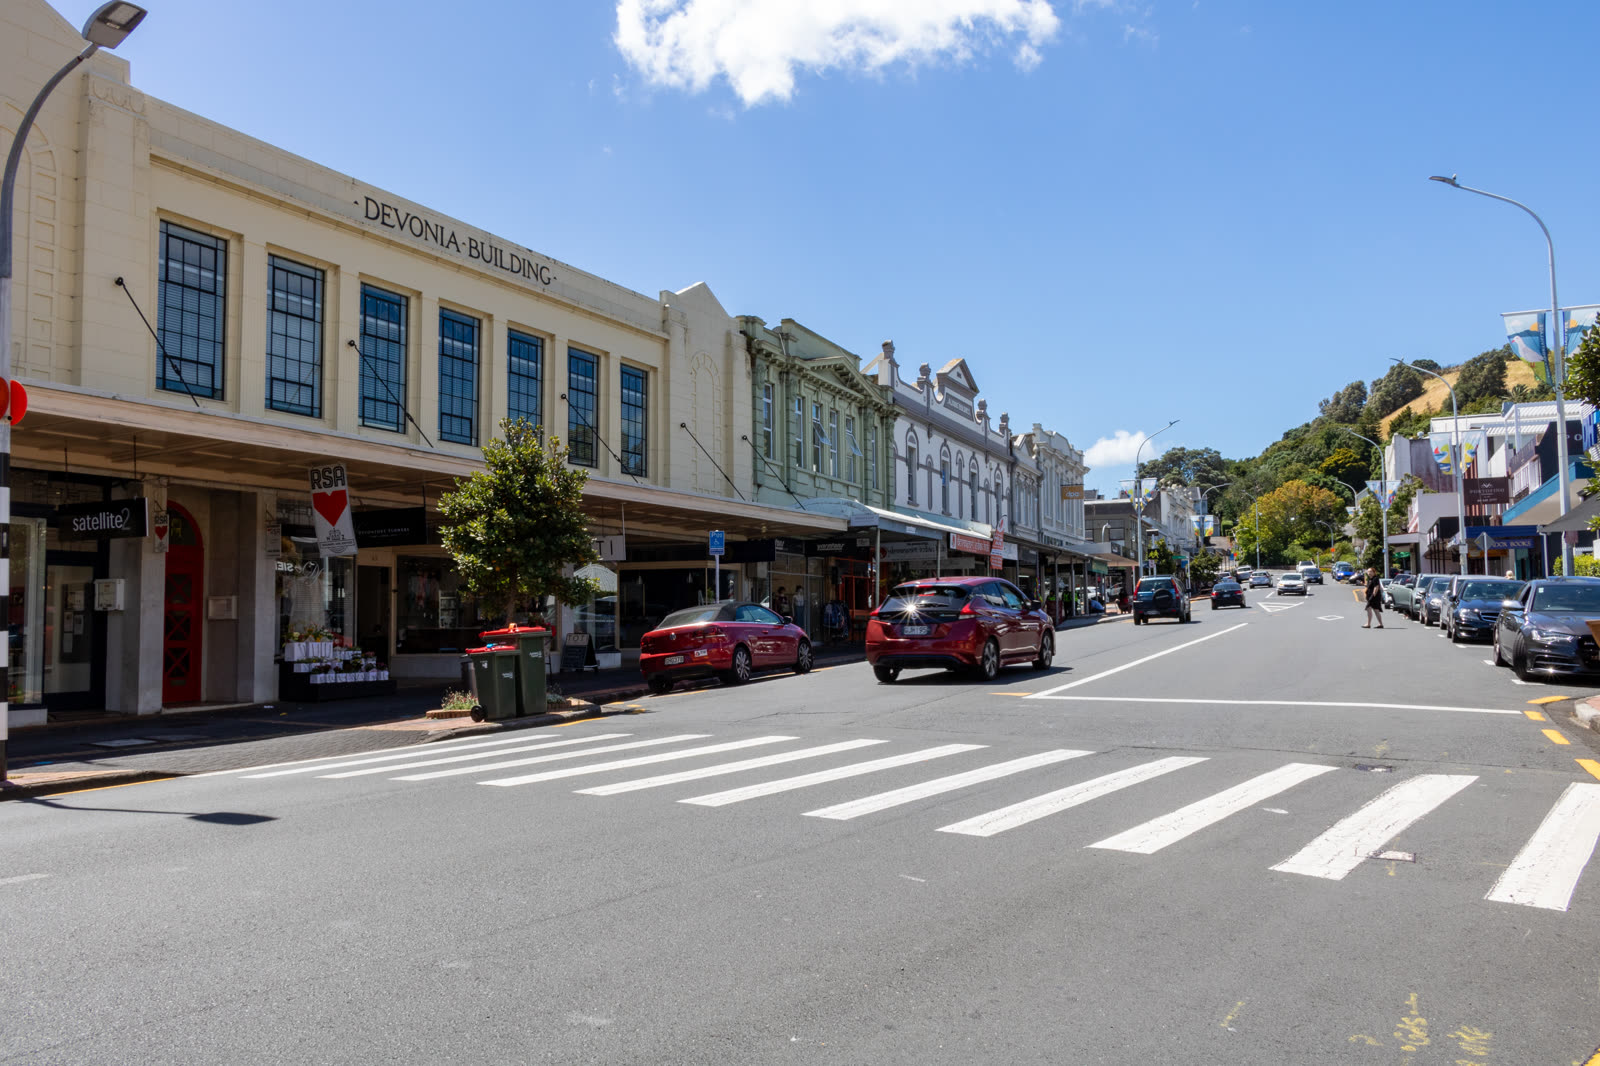
Image context: the cover uses a real Wikimedia Commons documentary photograph of Victoria Road looking toward Takarunga / Mount Victoria. It is the right image for this piece because the route depends on recognizing the village seam itself, not on reducing Devonport to a generic skyline lookout.[10]
Why this Devonport axis works better than a beach-and-cafe wander
The first advantage is compression. Many visitors arrive in Devonport and immediately scatter sideways into whatever looks pleasant near the wharf. That is how the place turns into drift. The stronger reading is linear. The ferry terminal deposits you at the lower edge of the village, Victoria Road gives you the spine, and Takarunga gives you the release.[1][2][8]
The second advantage is that the route keeps Devonport's scale intact. Discover Auckland sells the suburb correctly: coastal, charming, close to beaches, rich in former Maori pa sites, and full of reasons to linger.[1] But the local guide's best practical note is even more useful than the brochure language. Weekends get busy.[6] That means the winning move is not "see everything." It is to do the exact part of Devonport that still feels coherent when the place fills up: land, hold the main seam, climb, pause, and leave before the outing dilates.
The third advantage is that the summit is stronger because the street comes first. Google Maps community activity around both Devonport Ferry Terminal and Takarunga / Mount Victoria still reads like a living local loop rather than a dead sightseeing script.[8][9] People use the wharf because it works. People use the hill because it still earns the view. The route gains force once those two habits stay connected.
Hold Victoria Road as the seam, not as a shopping interruption
Devonport's village center is attractive enough to distract you from the route's real geometry. The cleaner approach is to let Victoria Road behave as a continuous seam between landing and elevation. The cover photograph makes that logic visible before you arrive: shops, slope, and summit already sit in one line.[10]
This is also where the Auckland mood changes. Downtown Auckland is all movement, transfer, and workday edges. Devonport calms down without going inert. Discover Auckland leans into the beaches and boutiques; Visit Devonport adds the more useful local correction by naming Victoria Road as the direct line from the wharf to the hill and by treating the walk itself as part of the experience rather than as dead time.[1][6] That combination is what makes Victoria Road useful. It is not only a retail strip. It is the village's pressure-release valve, the short corridor that keeps the ferry from feeling detached from the hill.
The common visitor mistake is to let that seam become the whole outing. If you spend the middle of the route shopping, queuing for coffee, and improvising side detours, the hill stops feeling inevitable. Devonport gets clearer once the street stays transitional and the long pause is saved for above.
Finish on Takarunga, where Devonport's history refuses to stay decorative
The summit matters because the view is only half the point. The current Takarunga page frames the hill as one of Auckland's most beloved ancestral mountains and gives the essential geographic fact: from up here the harbour and skyline settle into place.[2] The Auckland Council heritage review provides the denser local texture that turns the stop into more than a lookout. Mount Victoria came under the Devonport and Mt Victoria Domain Board in 1881, was used for defence purposes during the Russian scare and both world wars, and received an 8-inch disappearing gun in 1899 that still shapes how the summit is read.[7]
That layered afterlife is exactly why the route lands. Devonport is one of those places where pleasantness can hide structure if you let it. Takarunga fixes that. The hill keeps the Maori history visible in name and status, keeps the military history visible in the surviving fabric, and keeps the present city visible in the harbour panorama.[2][7] You do not need a long hike or a museum block to feel it. You only need to arrive with enough continuity left in the route to understand what the village sits under.
8 local moves that make this Auckland stop land
First, treat the ferry as the opening act, not as transport you forget the second you land. Discover Auckland's own framing of Devonport as a 12-minute escape is the reason the route works at all.[1]
Second, treat the hill as a real but short village climb, not as an optional add-on. Visit Devonport's own guide says the walk from the wharf usually lands in the 20-30 minute band, which is short enough to stay compact and long enough to give the summit some weight.[6]
Third, if you are going on a weekday, use the late-afternoon shoulder confidently. The published timetable still shows frequent Devonport sailings through the 17:00-18:00 band, which is exactly what makes a compact evening version viable.[3]
Fourth, walk straight out of the terminal and keep Victoria Road as your line. The route improves when the wharf and the hill remain one continuous thought.[8][10]
Fifth, pay cleanly. Auckland Transport says contactless payment is discounted from the full adult fare, and it only works properly if you tag on and tag off with the same card or device.[4]
Sixth, if you need a fresh AT HOP card, buy it where the route actually begins. Devonport Ferry Terminal sells them, and the current starter cost is NZ$25, made up of a NZ$5 card with NZ$20 loaded credit.[5]
Seventh, read Takarunga as more than a viewpoint. The hill is only 66 metres high, but the reserve and fortification history give the stop far more weight than its size suggests.[2][7]
Eighth, save your longest pause for the summit edge, not for the lower street. Devonport Wharf and Victoria Road set the approach; Takarunga is where the route finally resolves.[2][9]
Non-local trapline: 4 common mistakes and the better move
Mistake 1: treating Devonport as a generic brunch suburb the moment you land
Better alternative: let the ferry and the hill stay connected. The village is strongest when Victoria Road remains a seam, not a distraction.[1][8][10]
Mistake 2: calling a rideshare to the top because the climb looks optional
Better alternative: keep the route continuous. Takarunga is only 66 metres high; the point is not to conserve energy but to preserve the wharf-to-summit logic.[2]
Mistake 3: paying sloppily with contactless and assuming any tap sequence will work
Better alternative: follow Auckland Transport's rule and tag on and off with the same card or device so the fare closes correctly.[4]
Mistake 4: using the summit only for a skyline photo and leaving
Better alternative: stay long enough to register the historical layer as well. The reserve story begins in 1881 and the surviving fortification logic is still visible because of the 1899 gun emplacement.[7]
Concrete go details
- Best window: weekday 5:00-6:00 p.m. if you want a compact after-work version, with enough time left for the 20-30 minute walk to the summit without turning the outing into a half-day spread.[3][6]
- Expected spend: one inner-harbour ferry fare each way if you pay by contactless or an existing HOP card; if you need a new HOP card, the current starter cost is NZ$25 with NZ$20 credit already loaded.[4][5]
- Queue and reservation reality: no reservations, no complex ticket layer, and no need to overplan; the real variable is crowd pulse at the ferry terminal, not access to the hill.[3][8]
- Where to stand or sit: keep moving at the wharf, keep walking on Victoria Road, and use your real pause on the summit edge once the harbour opens.[2][8][9]
- Navigation cue:
Downtown Ferry Terminal -> Devonport Ferry Terminal -> Victoria Road -> Takarunga / Mount Victoria summit. - Numeric anchors worth keeping: 12 minutes, 20-30 minutes, 66 metres, 17:00-18:00, NZ$25, NZ$20, NZ$5, 1881, 1899.[1][2][3][5][6][7]
Devonport is easy to misread as "the cute ferry suburb." This route fixes that. The landing keeps the city close, Victoria Road keeps the village coherent, and Takarunga gives the whole place back its depth.
Sources
- Discover Auckland, "Devonport" (updated 11 April 2026; used for the 12-minute ferry framing, coastal-village overview, and Devonport's compact city-to-seaside contrast).
- Discover Auckland, "Takarunga Mount Victoria" (updated 11 April 2026; used for the 66-metre height, panoramic-harbour description, and Takarunga naming/history context).
- Auckland Transport, "Auckland Transport Devonport Ferry Timetable" PDF (current timetable used for the late-afternoon sailing pattern through the 17:00 and 18:00 hours).
- Auckland Transport, "Ferry fares" (current payment rules, inner-harbour zone inclusion for Devonport, contactless-payment note, and same-card tag on/tag off requirement).
- Auckland Transport, "How to buy an AT HOP card" (updated 24 February 2026; used for Devonport Ferry Terminal HOP availability and the NZ$25 starter-card price with NZ$20 credit).
- Visit Devonport, "Stunning views of Auckland from Mount Victoria" (local Devonport guide used for the Victoria Road walking line from the wharf, the 20-30 minute walk estimate, and Takarunga naming/context).
- Auckland Council, North Shore Heritage Thematic Review, Volume 2.1 PDF (used for the 1881 reserve status, defence-use history, and 1899 disappearing-gun placement on Mount Victoria).
- Google Maps community listing, "Devonport Ferry Terminal, Auckland."
- Google Maps community listing, "Takarunga / Mount Victoria, Auckland."
- Wikimedia Commons file page for the documentary photograph used as the cover image, "Victoria Rd, Devonport, near Devonia towards Mt Victoria.jpg".